Austria. A country so beautiful, it’s as if you stepped into a dream. The Von Trapp family certainly knew what they were doing setting up camp there. Though Jon and I technically kicked off our European holiday in Zurich – the most expensive 11 hours of our life – our first full day was spent in Vienna, or Wien as Austrians call it.
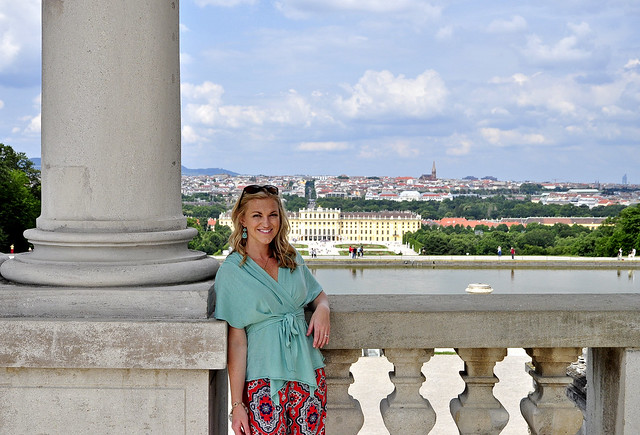
A pristine, dog-friendly city full of pedestrian lanes, stunning architecture and places of business that close down early – the Austrian way of life is slow and laid back, which is unfortunate for us considering we only had two days to fit everything in and absorb the culture. There are so many historical and beautiful sites, and we did our best to see it all.